

Send a Lead to Your CRM
- Open the conversation for the lead you want to send.
- Select the info (i) icon in the upper-right corner to open the contact details.
- Select Send to CRM.
Don’t see Send to CRM? Contact your Captivated Administrator to confirm that CRM lead delivery has been configured for your account.

Choose Where to Send the Lead
If your organization has multiple CRM lead email addresses configured, select the appropriate destination from the dropdown. For example, your organization may have different destinations for different stores, departments, or lead types. If only one destination is configured, you won’t need to select an email address.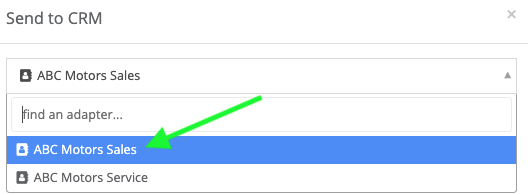
Add Vehicle Information
Before sending the lead, you can include additional vehicle information with the contact’s details. Optional fields include:- Stock Number
- Vehicle Year
- Vehicle Make
- Vehicle Model
- Vehicle Trim
- Vehicle Color
- New or Used
- VIN
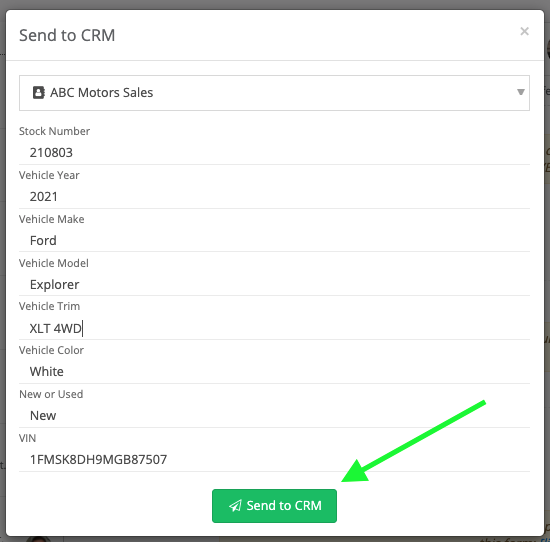 Complete any applicable fields, then select Send to CRM.
What Happens Next?
Captivated sends the contact and any additional information you entered to the selected CRM destination in ADF format. Your CRM can then process the ADF lead according to its existing lead-management configuration.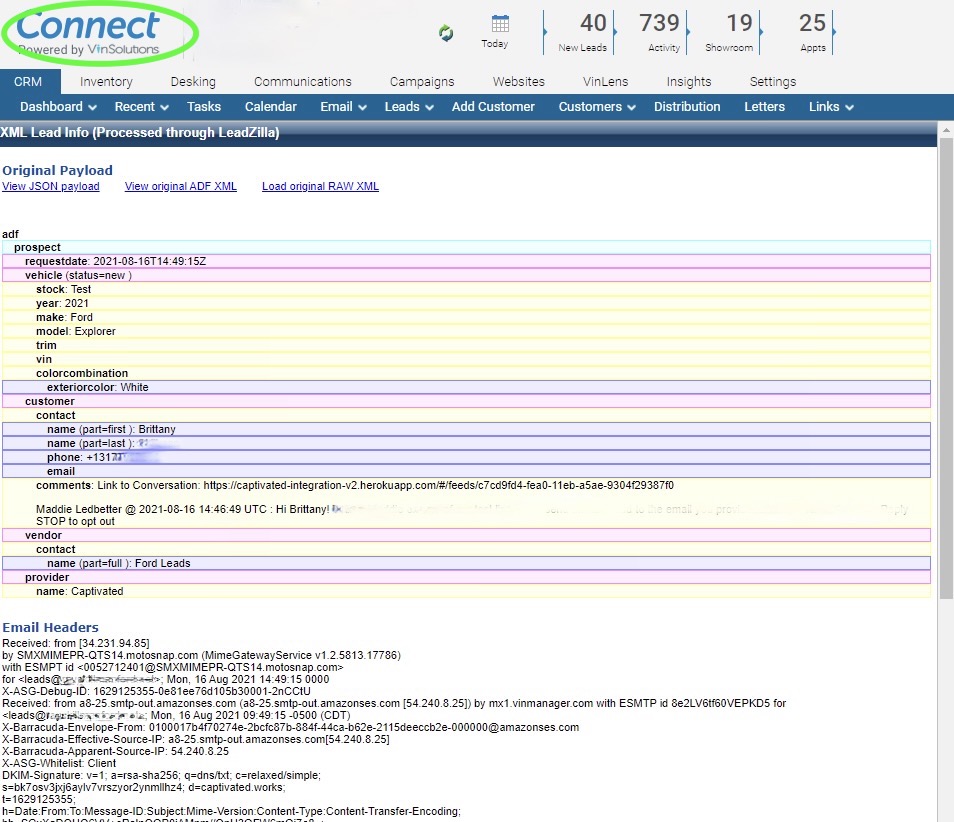
This feature sends the lead information to the CRM destination configured by your Captivated Administrator. It does not create an ongoing contact sync between Captivated and your CRM.