

Find Your Website Widgets
To view or edit your Website Widgets:- Select the gear icon in the bottom-left corner of Captivated.
- Go to Administration.
- Scroll to Website Widgets.
- Select the widget you want to manage.
If a widget is connected to a disabled Channel (phone number), Captivated will display a flag so you know it needs to be reassigned to an active Channel.

Customize Your Website Widget
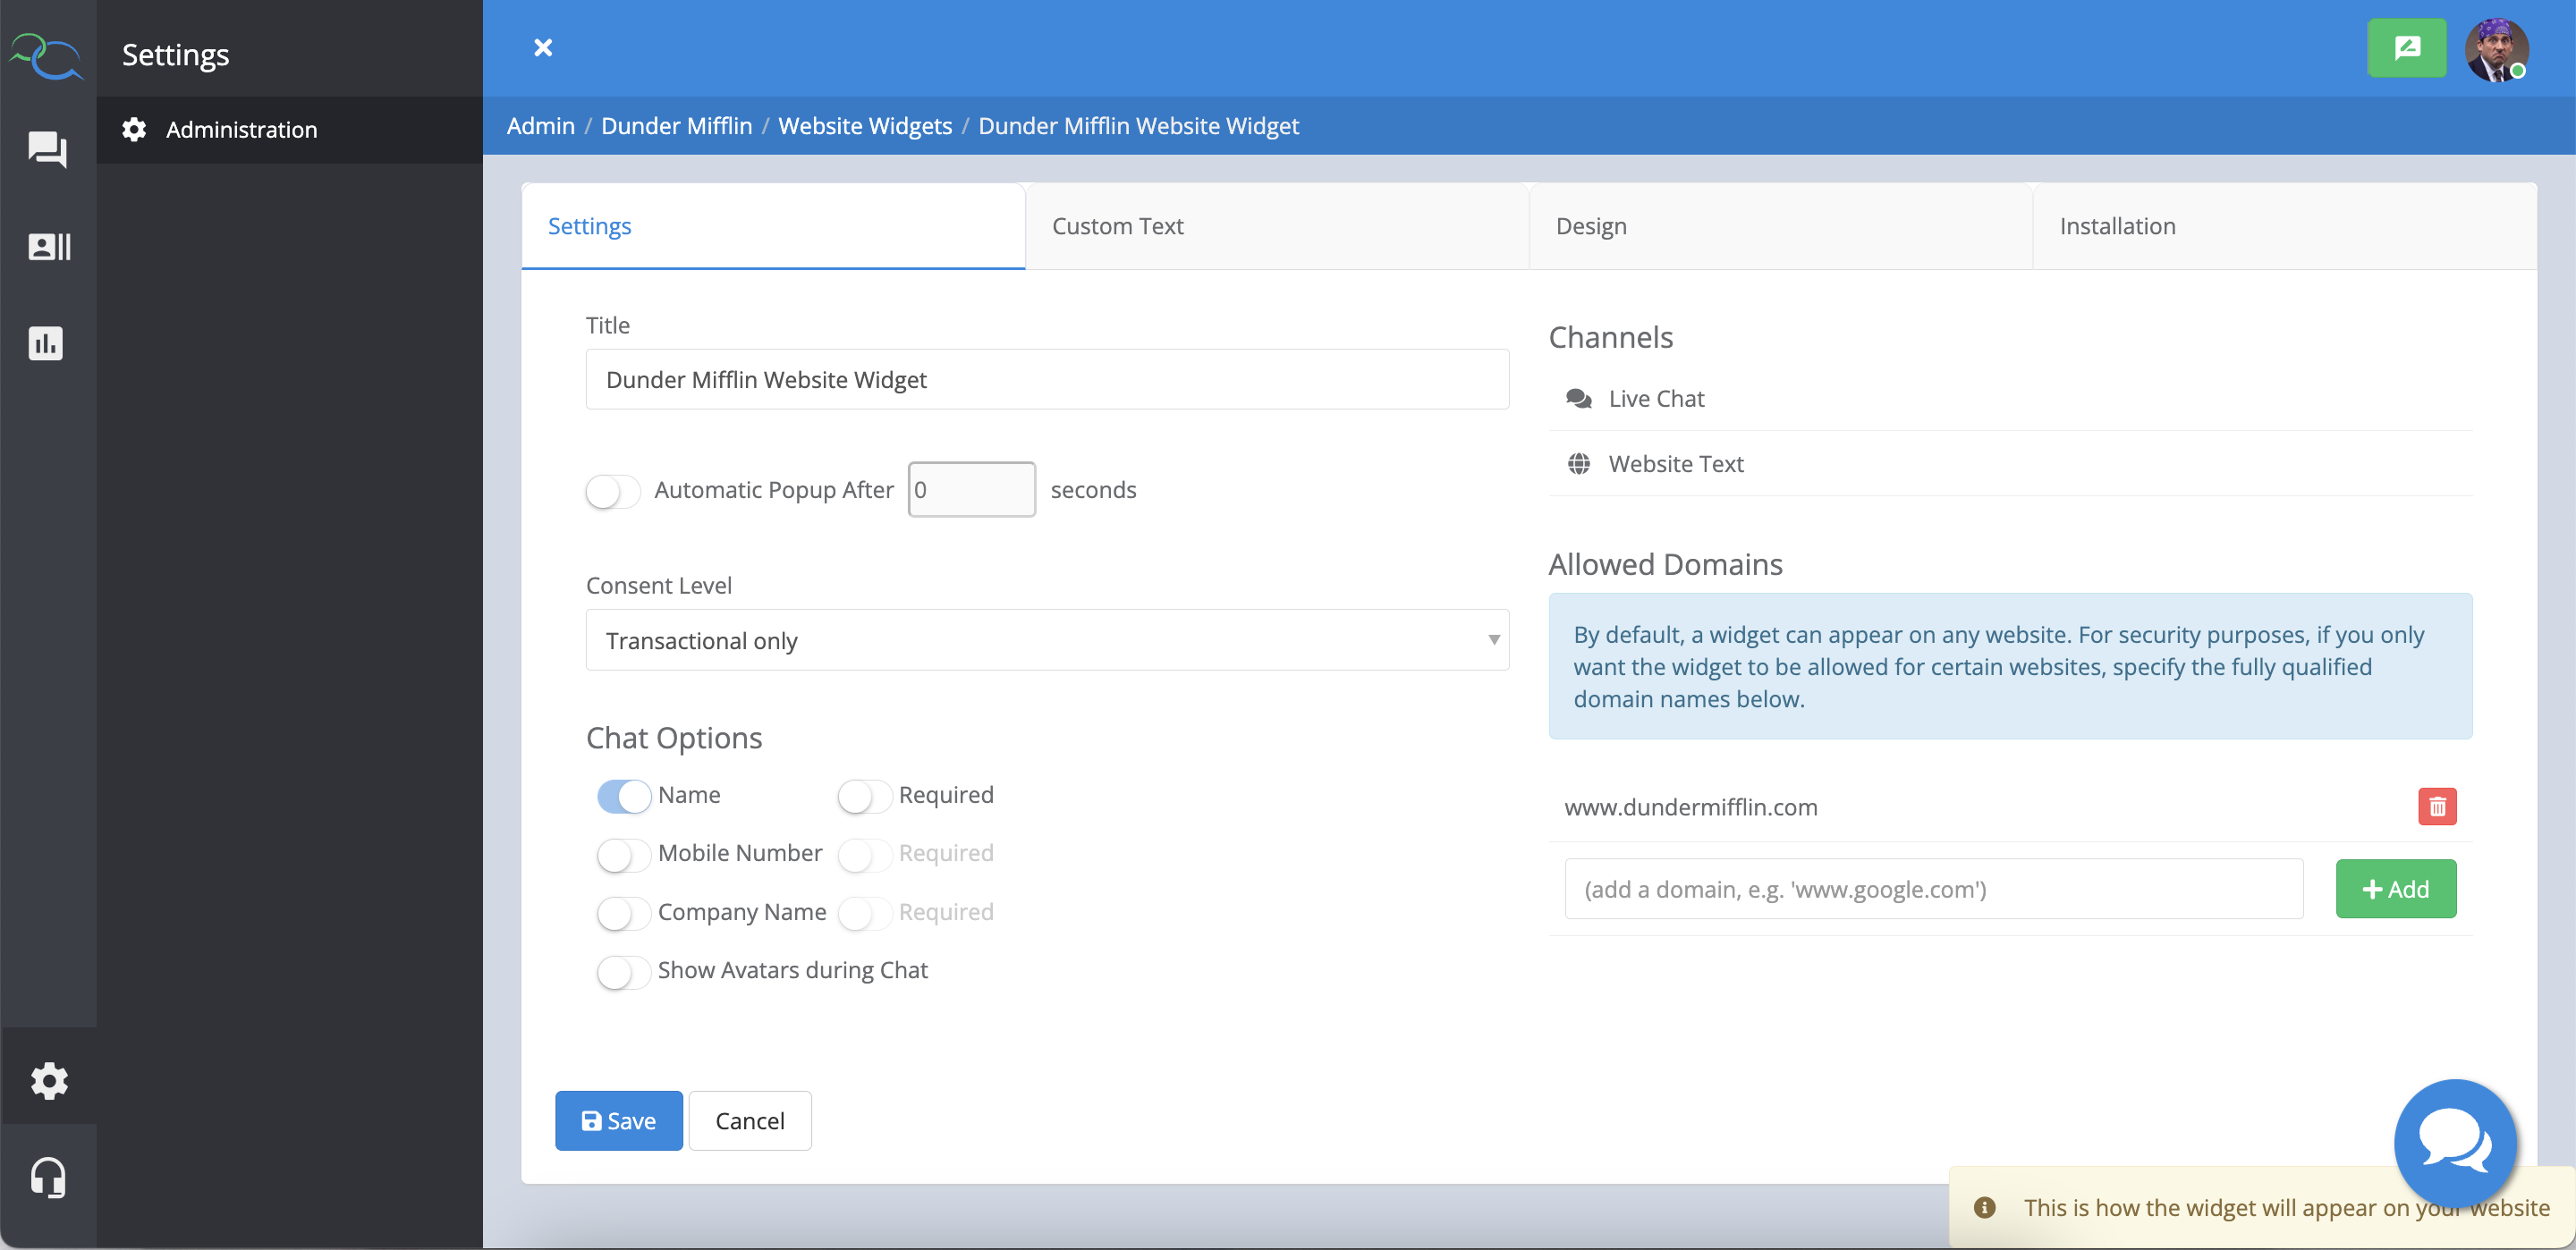
Each Website Widget includes several tabs for controlling its appearance and behavior.Settings
The Settings tab controls:- The Channel or Channels assigned to the widget
- The website domains where the widget is allowed
- How visitors choose between multiple Channels
- Additional Live Chat settings, if Live Chat is enabled
Channel Selection
If your widget uses multiple Channels, Channel Selection determines how visitors choose where their conversation should go. You can choose:- Select channels from a list — Displays your available Channels as a standard list, such as departments or locations.
- Geo-location based search — Allows visitors to find and select the location closest to them.
Custom Text
Use the Custom Text tab to customize the messaging visitors see when they open your widget. Additional text options are available when Live Chat is enabled.
Design
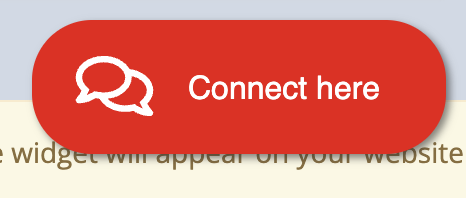
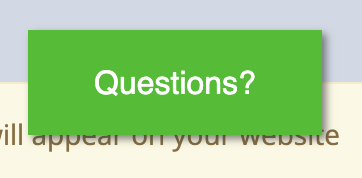
Use the Design tab to customize the appearance of your widget, including:- Color
- Shape
- Size
- Placement on your website
- Button text
- Icon
- Whether Live Chat or Text Us appears on top



Route Visitors to Their Nearest Location
If your organization has multiple locations, your Website Widget can help visitors find and connect with the location closest to them. Each location is represented by a Captivated Channel and assigned a geographic location.Set Up Location-Based Channel Selection
- Open your Website Widget.
- Go to Settings.
- Under Channel Selection, choose Geo-location based search.
- Once enabled, each Channel on the widget will display its associated location. Channels that haven’t been configured yet will show (no location).
4. Add the Channels you want available through the widget.
5. Select Edit Location next to a Channel.
You can set its location in one of two ways:
- Find by Address — Enter a street address or ZIP code to locate it automatically.
- Manually Enter Coordinates — Enter the latitude and longitude yourself.
- Repeat this process for each location you want included.
- Select Save.
At least two Channels must have locations configured for the nearest-location finder to appear. Channels without location information are excluded from location-based search results.
What Website Visitors See
When a visitor selects Text Us or Live Chat, they’ll be prompted to find the appropriate location. They can either:- Enter their ZIP code, or
- Allow their browser or device to use their current location
- 10 miles
- 25 miles
- 50 miles
- 100 miles
The location finder works on both desktop and mobile web.
Live Chat Options
If your organization has Live Chat enabled, additional Website Widget options are available. You can configure your Live Chat experience to support things such as:- Live Chat hours — Set specific times when Live Chat is available so your team is staffed and ready to respond.
- Departments or locations — Allow visitors to select the appropriate team before starting their conversation.
Install Your Website Widget
Once you’re happy with your widget, open the Installation tab. This section provides the code and instructions needed to add the widget to your website. If your organization uses Google Tag Manager, see our Google Tag Manager integration guide for additional installation instructions.
Test Your Widget Before Going Live
Want to preview your widget before adding it to your website? Use the Captivated Widget Tester to test the experience.- Open the Installation tab of your Website Widget.
- Copy the widget’s installation code.
- Paste it into the Widget Tester.
- Select Install Widget.
- Test your Text Us, Live Chat, Channel selection, or location-based experience.
 This can be especially helpful when testing Geo-location based search to make sure ZIP code searches, location permissions, search radius, and routing behave as expected.